
-
 Always Here for You (Original Painting)
$150.00
Always Here for You (Original Painting)
$150.00
-
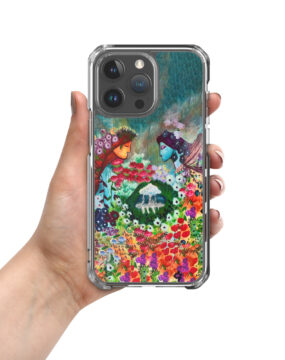 Welcome Back iPhone Cover
$24.50
Welcome Back iPhone Cover
$24.50
-
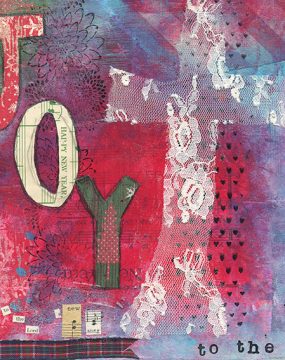 Joy to the World (Art Print)
$30.00
Joy to the World (Art Print)
$30.00
-
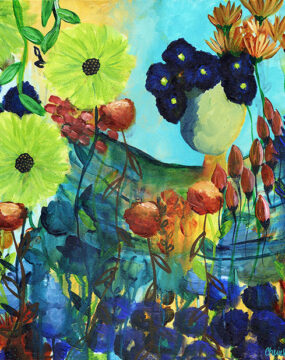
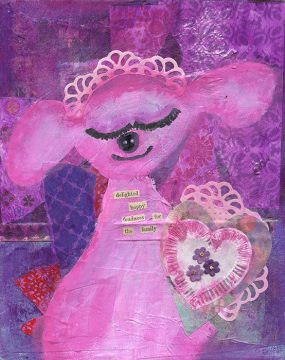 Delighted Happy Fondness (Art Print)
$30.00
Delighted Happy Fondness (Art Print)
$30.00
-
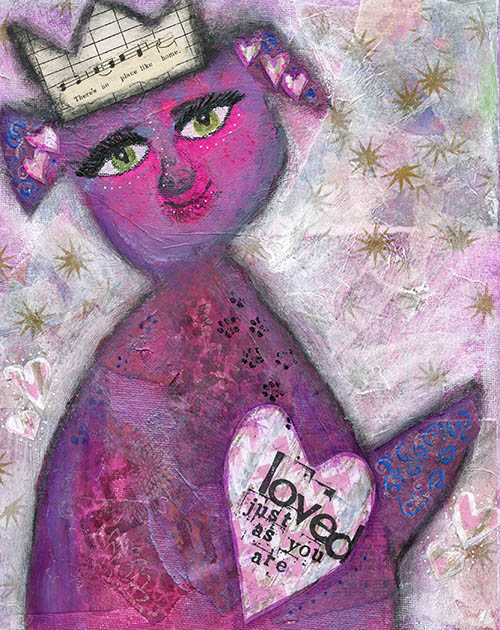 Loved Just As You Are (Art Print)
$30.00
Loved Just As You Are (Art Print)
$30.00
-
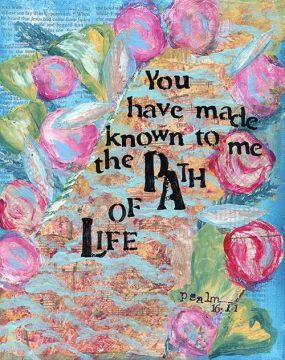 The Path of Life (Art Print)
$30.00
The Path of Life (Art Print)
$30.00
-
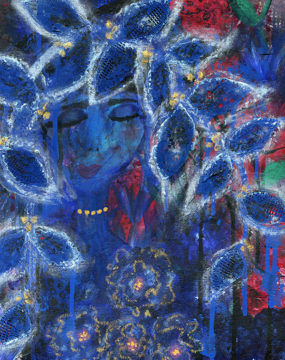 Beauty Through Her Tears (Art Print)
$30.00
Beauty Through Her Tears (Art Print)
$30.00
-
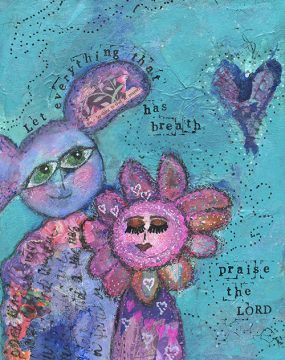 Let Everything Has Breath (Art Print)
$30.00
Let Everything Has Breath (Art Print)
$30.00
-
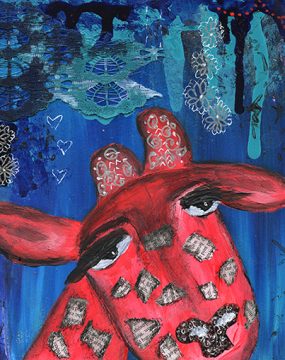 Pink Giraffe (Art Print)
$30.00
Pink Giraffe (Art Print)
$30.00
-
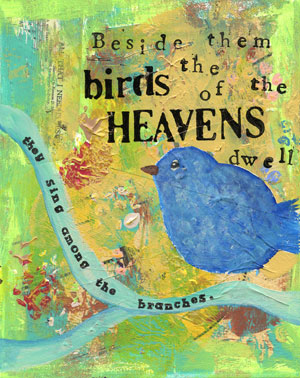 Beside Them the Birds of the Heavens (Art Print)
$30.00
Beside Them the Birds of the Heavens (Art Print)
$30.00
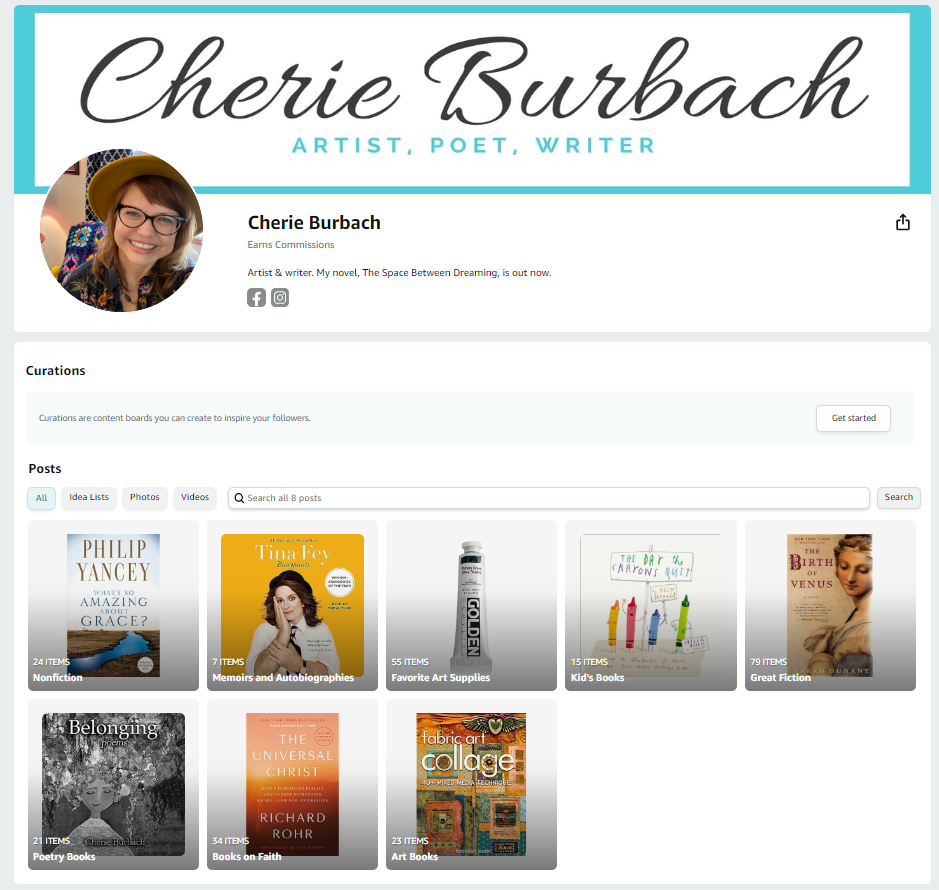
writer, artist, poet
-
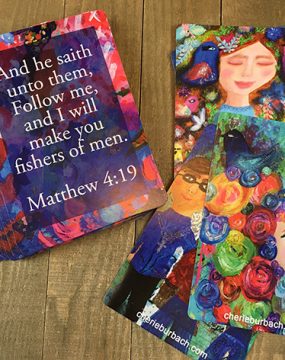 Devotional Deck
$35.00
Devotional Deck
$35.00
-
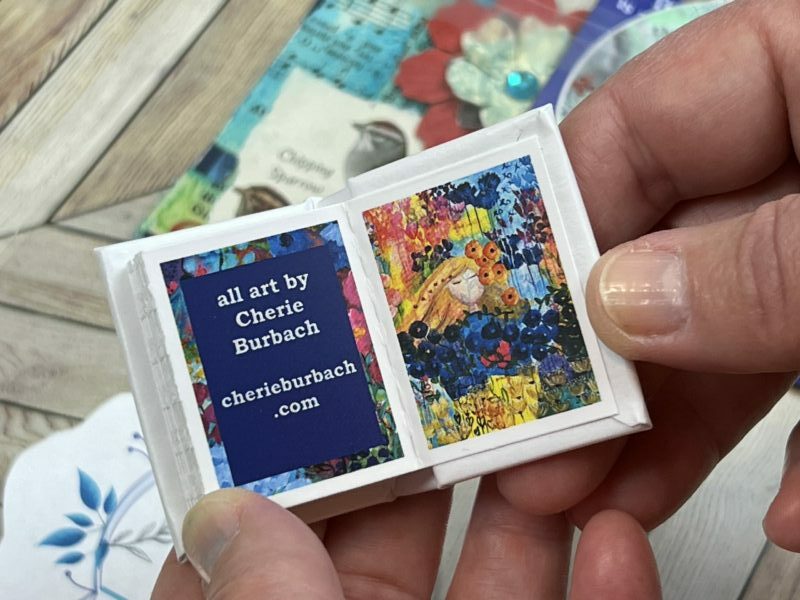
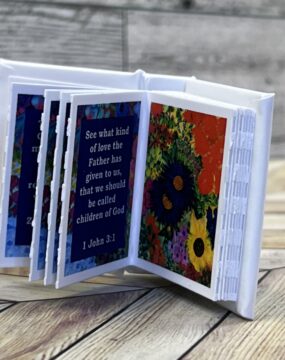 Tiny Blessings Package
$25.00
Tiny Blessings Package
$25.00
-
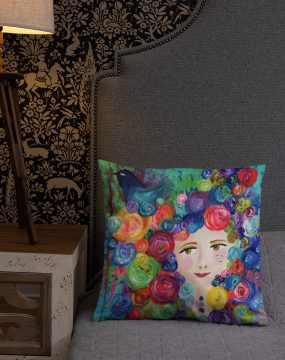 Bohemian Girl Pillow
$40.00
Bohemian Girl Pillow
$40.00
-
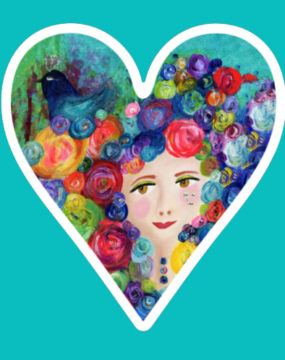 Bohemian Girl Sticker
$4.00
Bohemian Girl Sticker
$4.00
-
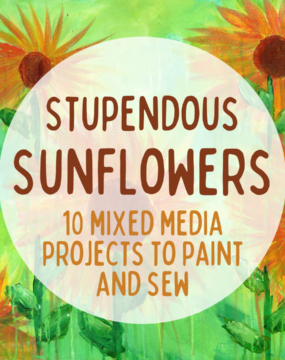 Stupendous Sunflowers (Online Art Course)
$75.00
Stupendous Sunflowers (Online Art Course)
$75.00
Footer
-
Devotional Deck
$35.00
-
Tiny Blessings Package
$25.00
-
Bohemian Girl Pillow
$40.00
-
Bohemian Girl Sticker
$4.00
-
Stupendous Sunflowers (Online Art Course)
$75.00